

How to Draw a Cake. A cake is always a good dessert to taste! Not just are they delicious, but they are often used during celebrations such as birthdays and parties. They can also take on many different shapes and forms, and imagining your perfect cake can be fun. This direction on drawing a cake will reveal precisely how you can accomplish it!
You’ll find out how to draw our cake drawing, but you can also take what you’ve learned and draw variations of it. It choice be amazing to visit what you arrive up with! If you are looking for 3d drawing, drawing for kids, cartoons drawing, animals drawing and many more, then you are at the right place.
Drawing a Cake
Step 1:
We’ll hold something nice and easy for this first stage of our direction on drawing a cake. We won’t remove the cake itself but the plate it sits on. It may seem easy, but it may take a bit of firmness. It is drawn with curved lines that form an almost flat oval.
We’ll have to draw the cake on this plate later, so leave plenty of space at the top. Then we will carry on to dance 2 of the manual!
Step 2:
Now you can begin drawing the cake. Doing this will form from the base and operate our way up. It will also fill in the space you went to at the plate’s lid earlier. The cake will be square, but the corners will be slightly rounded.
We will also add some decoration for this part of the cake, which consists of two wavy lines across the width of the cake.
Step 3:
This third step will see you add the shelter of the cake and the icing that covers it. Use round lines for the top shell of the cake as it occurs in the contact image. Assemble to leave a bunch of space at the canopy of the cake! Next, we’ll draw the frosting falling from the top. It can be removed utilizing several dangling curved lines reaching down the flank of the patty. We will then continue to add more details as we go.
Step 4:
It must be a birthday cake because it’s hidden in candles. We will draw these candles in this 4th step of our direction on drawing a cake. There will be 5 candles on the shelter of the cake; You can add more or less if you prefer! It would also be a wonderful method to personalize this drawing.
Each candle has a long, thin shape with some wax dripping from the top. You can also count a little curved line at the end of each for the wick. Don’t forget to add the other edge of the cake between the candles! Then it’s time to count some last pieces.
Step 5:
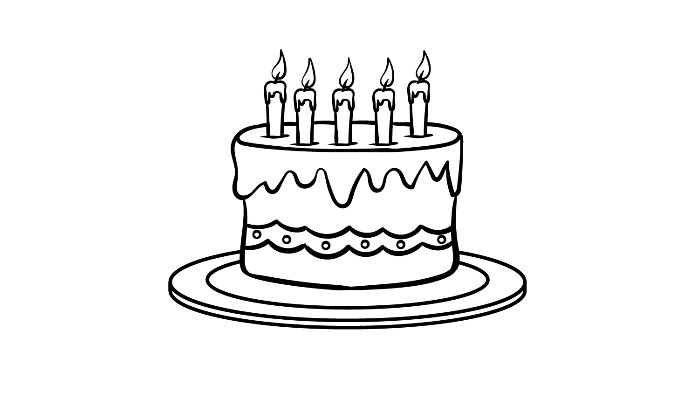
We have a very easy step for you before we reach the guide’s final stage! In this one, we’re going to draw some decorative elements for the cake, and this is where you can add your style and touches. In our example image, we kept things pretty simple when we added flames to the candle wicks. Then we counted some little rings inside the ornament around the floor.
We’ve added those details, but you can add many more! It is your opportunity to let out your internal fashion creator and direct off what the perfect birthday cake would look like. You can do this by adding sprinkles, frosting, or other elements. Maybe you could write a name on the cake to make it a birthday card for someone!
Step 6:
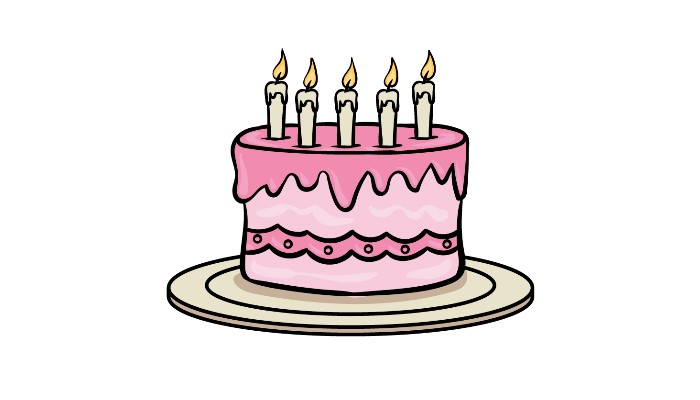
It’s time to wrap up this guide on how to draw a cake with color! Our reference picture shows you only one way to color this beautiful drawing. We used different shades of pink for the cake layers, which makes it delicious! We used beige with some orange flames for the candles, then a light brown for the trim.
Do you think you will choose similar colors for your cake, or will you try unique colors instead? Try out crafts like beads and stickers could also be a great image. We can’t wait to see how you end up with this one!
Tips for facilitating the drawing of your cake!
Try these 3 tasty tips to make your cake easier! Other people think additional drawing is the hardest. For some, drawing intricate details is the hardest part, and there are details like this in this cake drawing. If you have trouble designing complicated details, you should modify or delete some for this drawing. For example, the candles on the cake may be a bit delicate. You can solve this problem by excluding all candles except one. You can keep the sensation of omitting one without having to draw all the others.
What other details could you modify or delete? The cake drawing is simple, but you can have a different shape or drawing that you find most comfortable. Cakes appear in many forms and dimensions, so that you will have many options. For example, drawing a rectangular cupcake may be easier. It is a common form for cakes and can be much easier. Even if you change the pan, you can keep the cake drawing in color and decorations if you like these aspects. What are the conditions for this cake you can find easier?
This cake sketch we work on is made in a simple style, but you can always use a real cake to help you draw. When you draw this, you have the perfect model if there is a birthday in your home! Otherwise, you can search for cake photos online you can use to help it. Even if they don’t look much like our example, using an image can help define the shape, details, and dimensions of the cake you draw. It would also be helpful to make certain variations to make your cake more exclusive!
Your cake drawing is complete!
We hope this guide on how to draw a cake has not kept your appetite much! So when you finish our drawing, it’s time to project your perfect cake. We talked about some ways to do it, and we can barely wait to see if you use these ideas or some of yours!
Below you can try some of our great free drawing directories and different art supplies we have for you on our site. Be sure to visit us there for fun! Finally, share your finished cake drawing on our Facebook and Pinterest pages to see.
Also Read: How to draw a Rubber Duck